Summary:
Step 1: Initial Consultation and Stone Assessment
The process begins with an on-site evaluation by a stone restoration professional. During this phase, the team inspects the material—be it marble, granite, or terrazzo—and notes the surface condition, existing damage, and type of finish. They’ll check for scratches, etching, dull spots, or cracks and determine whether stone repair or full refinishing is needed. This assessment brings forth a custom restoration plan that matches the specific needs of your surface and location.
Step 2: Deep Stone Cleaning
Before any refinishing can begin, the stone must be thoroughly cleaned to remove dirt, grime, and surface buildup. Professional stone cleaning uses pH-balanced solutions and specialized equipment to extract debris from the pores without damaging the material. This step helps reveal the true condition of the surface and prepares it for the next stages.
Step 3: Stone Repair for Chips and Cracks
If the surface has chips, cracks, or holes, these are repaired using custom-matched fillers or epoxy blends. Stone repair services work to smooth out imperfections, blending repairs into the surrounding stone. This is especially important for heritage marble in Manhattan properties or well-used granite countertops in Astoria kitchens.
Step 4: Grinding and Honing for Surface Refinishing
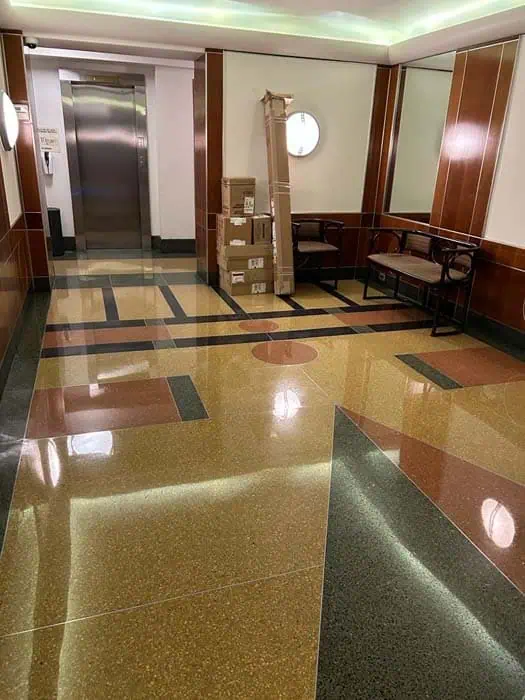
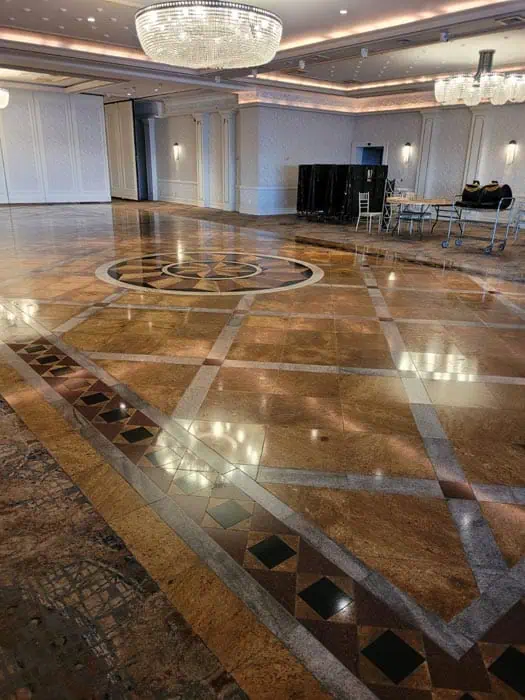
Next, the surface is ground down using diamond abrasives to remove deep scratches, etching, or unevenness. This process, known as honing, levels the stone and preps it for polishing. Depending on the stone’s condition and desired finish, professionals may use different grit levels to achieve a smooth, matte, or pre-polished appearance. Terrazzo restoration projects often benefit greatly from this step, as it reveals the aggregate below the worn layer.
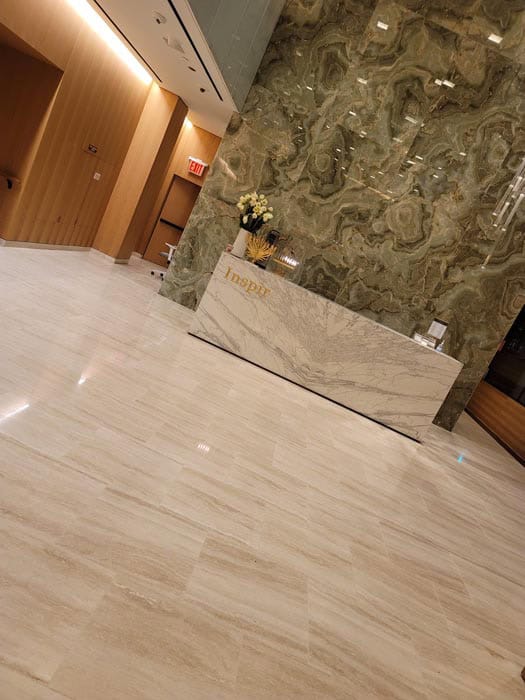
Step 5: Stone Polishing for Shine and Clarity
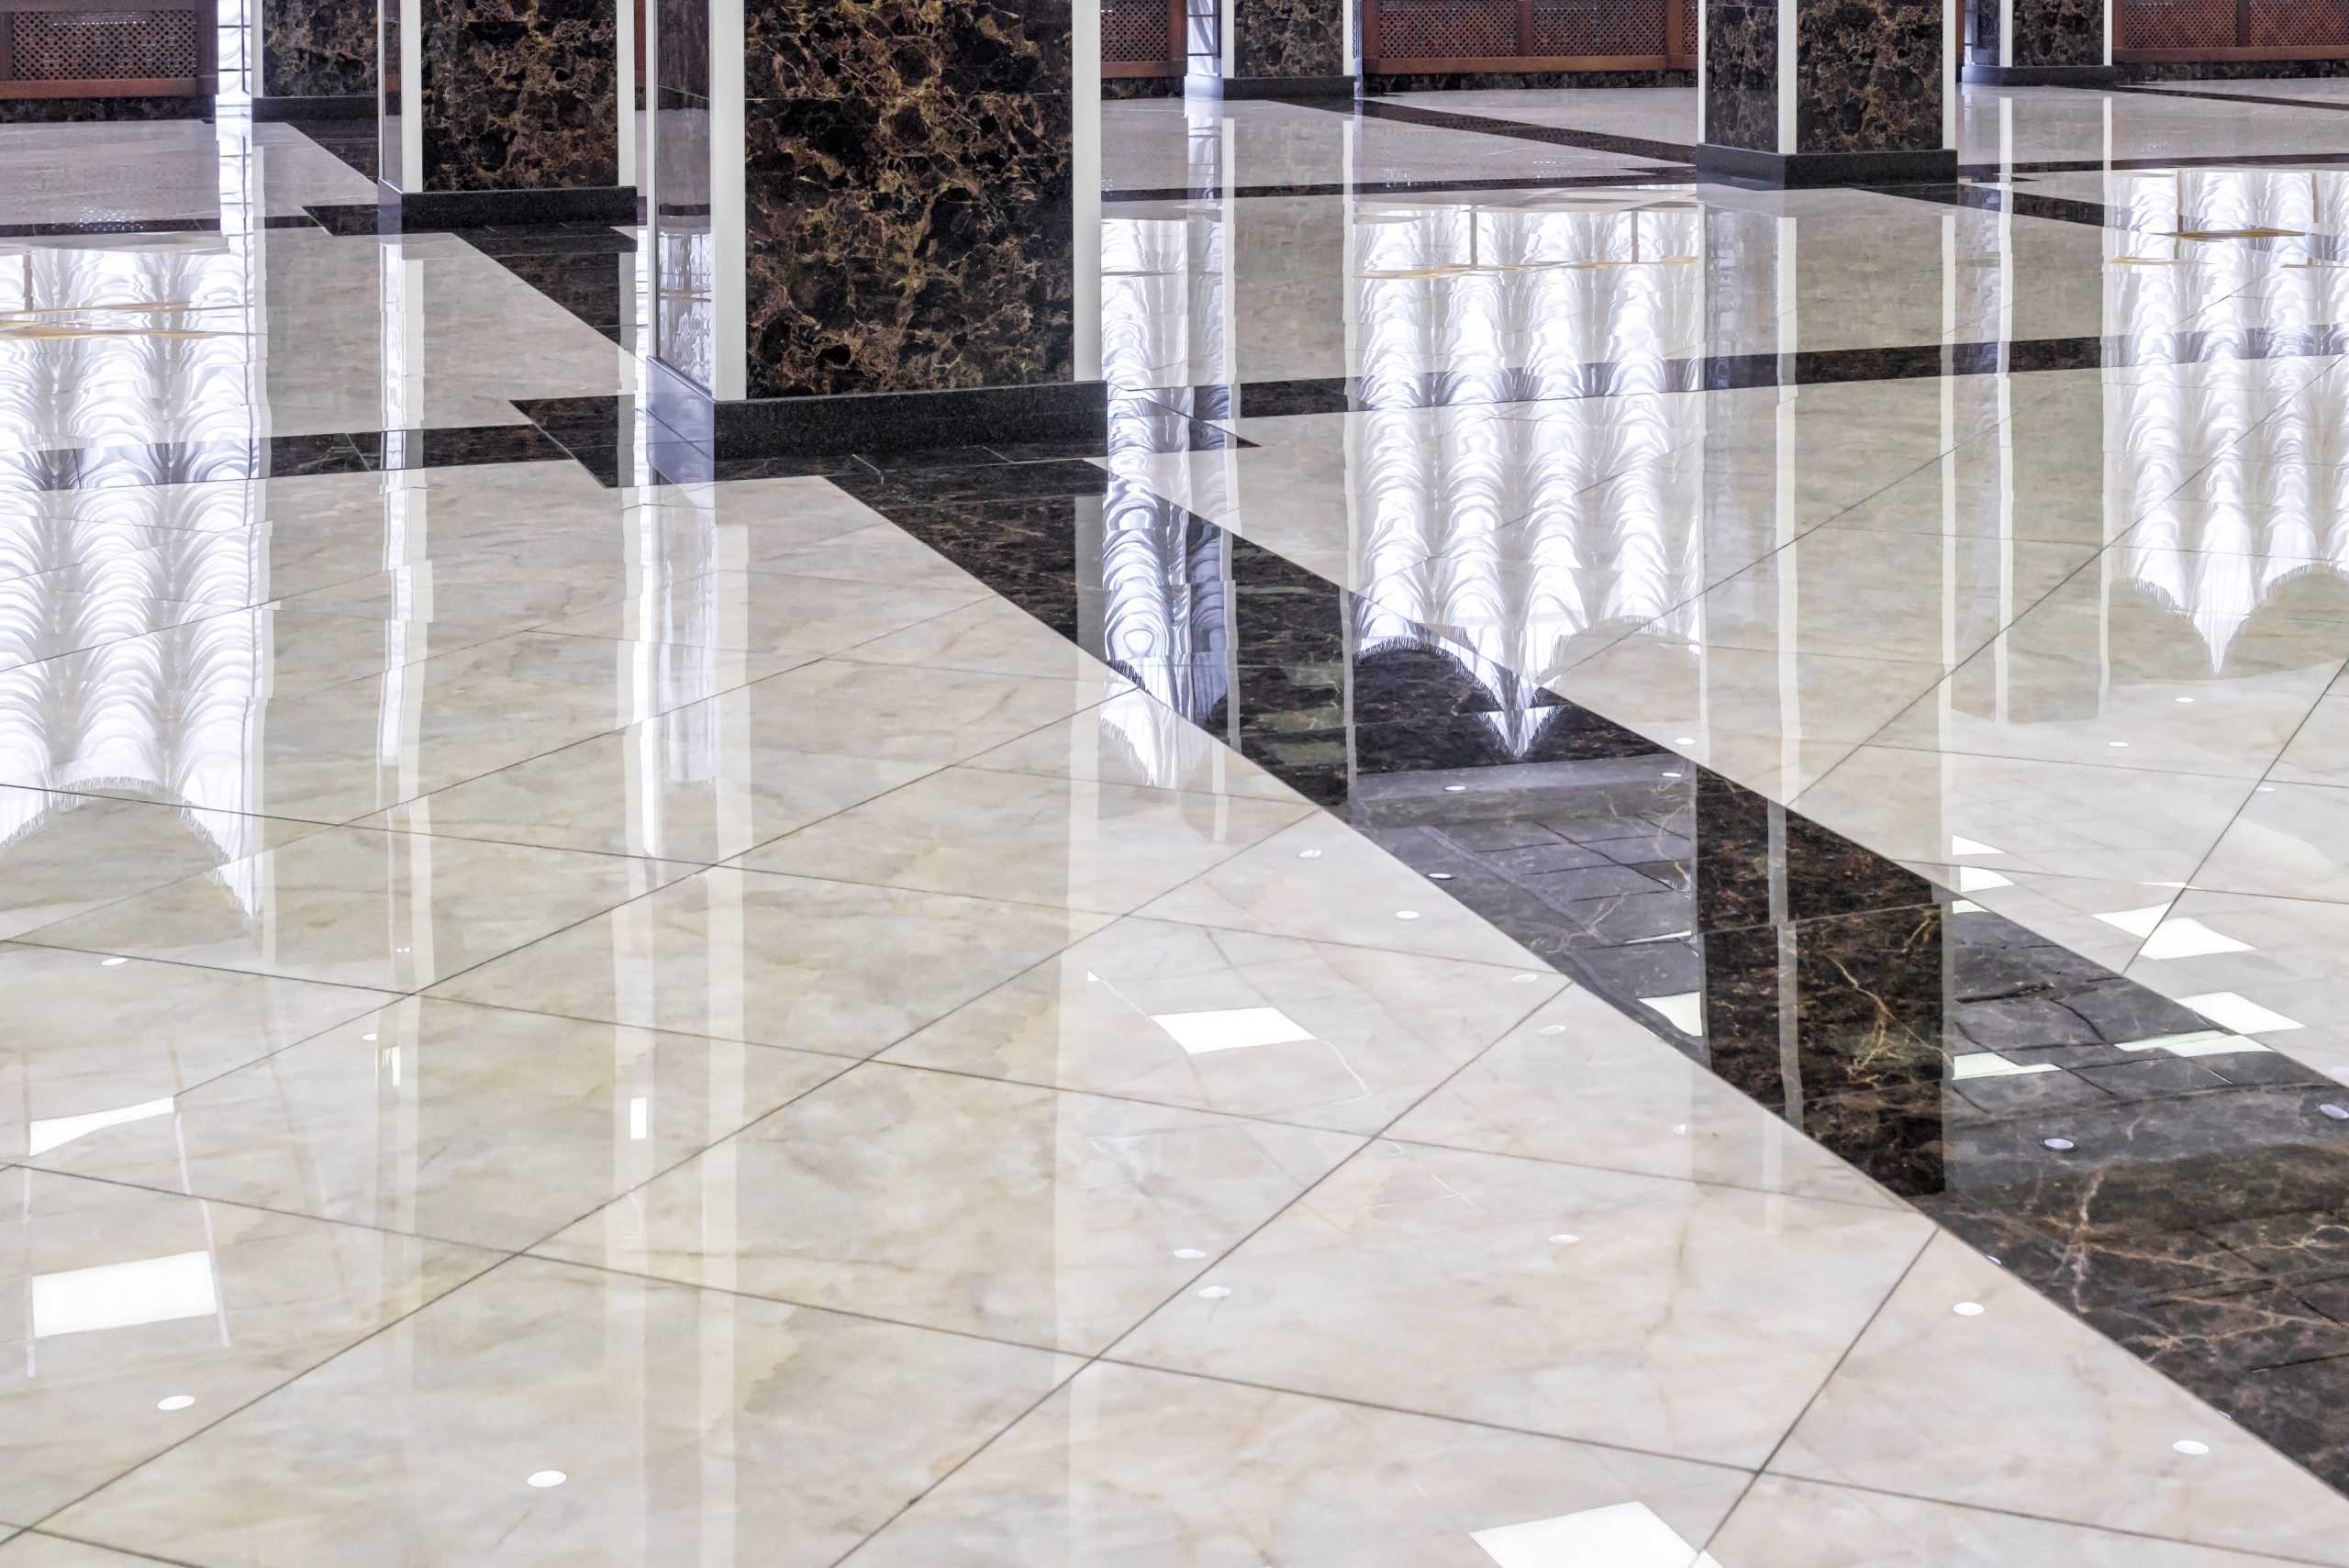
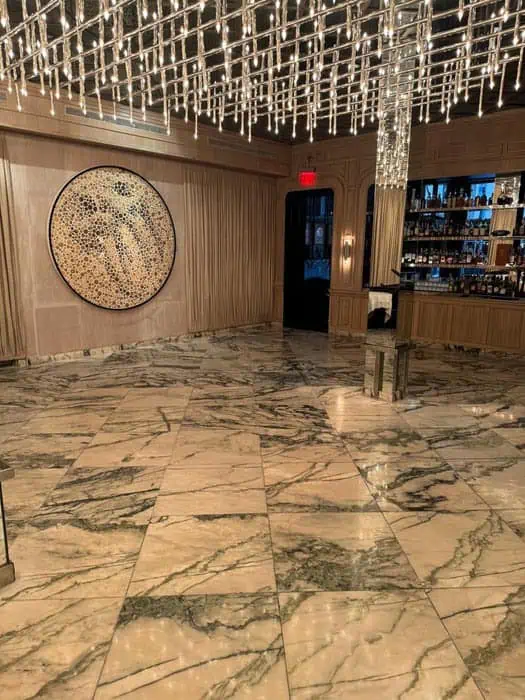
Stone polishing enhances reflectivity and restores visual depth to the surface. For marble restoration, this stage is essential in reviving its signature luster. Granite restoration also benefits from this process, which magnifies its natural patterns and colors. Polishing can be customized to provide a high-gloss, semi-gloss, or satin finish, depending on the space and material.
Step 6: Stone Sealing for Long-Term Protection
Once the surface is polished, a protective sealant is applied. This helps prevent future staining, moisture intrusion, and wear. Stone sealing is particularly important for surfaces like marble and limestone, which are prone to etching. In high-traffic spaces throughout Manhattan or Astoria, this added layer of defense confirms your restored stone remains protected long after the job is complete.
Start Your Stone Restoration Project with Confidence
Inspection of the sealing: each phase renews and protects your natural stone. Whether you’re planning marble restoration in a historic Manhattan home or terrazzo restoration in a modern Astoria office, Diamond Stone Restorations Corp delivers care at every step.