Tile Sealing in Windmill Farm, NY

Protect Your Tiles From Permanent Damage

Professional tile sealing that stops stains before they start, making your floors easier to clean and extending their life for years.

A person wearing a yellow hard hat and blue shirt is installing large white floor tiles. A red spirit level and a bucket of adhesive are nearby, and the person is adjusting a tile for alignment.

Hear from Our Customers

A person carefully placing a ceramic floor tile onto wet mortar, aligning it with other tiles during a flooring installation project. Sunlight shines across the workspace.

Professional Tile Sealing Windmill Farm

Your Floors Stay Beautiful Longer

When your tiles are properly sealed, spills bead up instead of soaking in. Coffee, wine, grease—none of it penetrates your grout lines or porous tile surfaces. Your regular cleaning becomes effortless because dirt sits on the surface rather than embedding deep into the material.

You’ll notice the difference immediately. Colors stay vibrant, grout lines remain their original shade, and that fresh, clean look lasts months longer between deep cleanings.

Most importantly, you’re protecting your investment. Sealed tiles resist the moisture damage that leads to cracking, discoloration, and expensive repairs down the road.

Tile Sealing Contractors Windmill Farm

Local Experts You Can Trust

Diamond Stone Restorations Corp has been serving Windmill Farm and the greater New York area for over a decade. We’re a family-owned company that understands how valuable your surfaces are—and how frustrating it is when they start looking worn despite your best efforts.

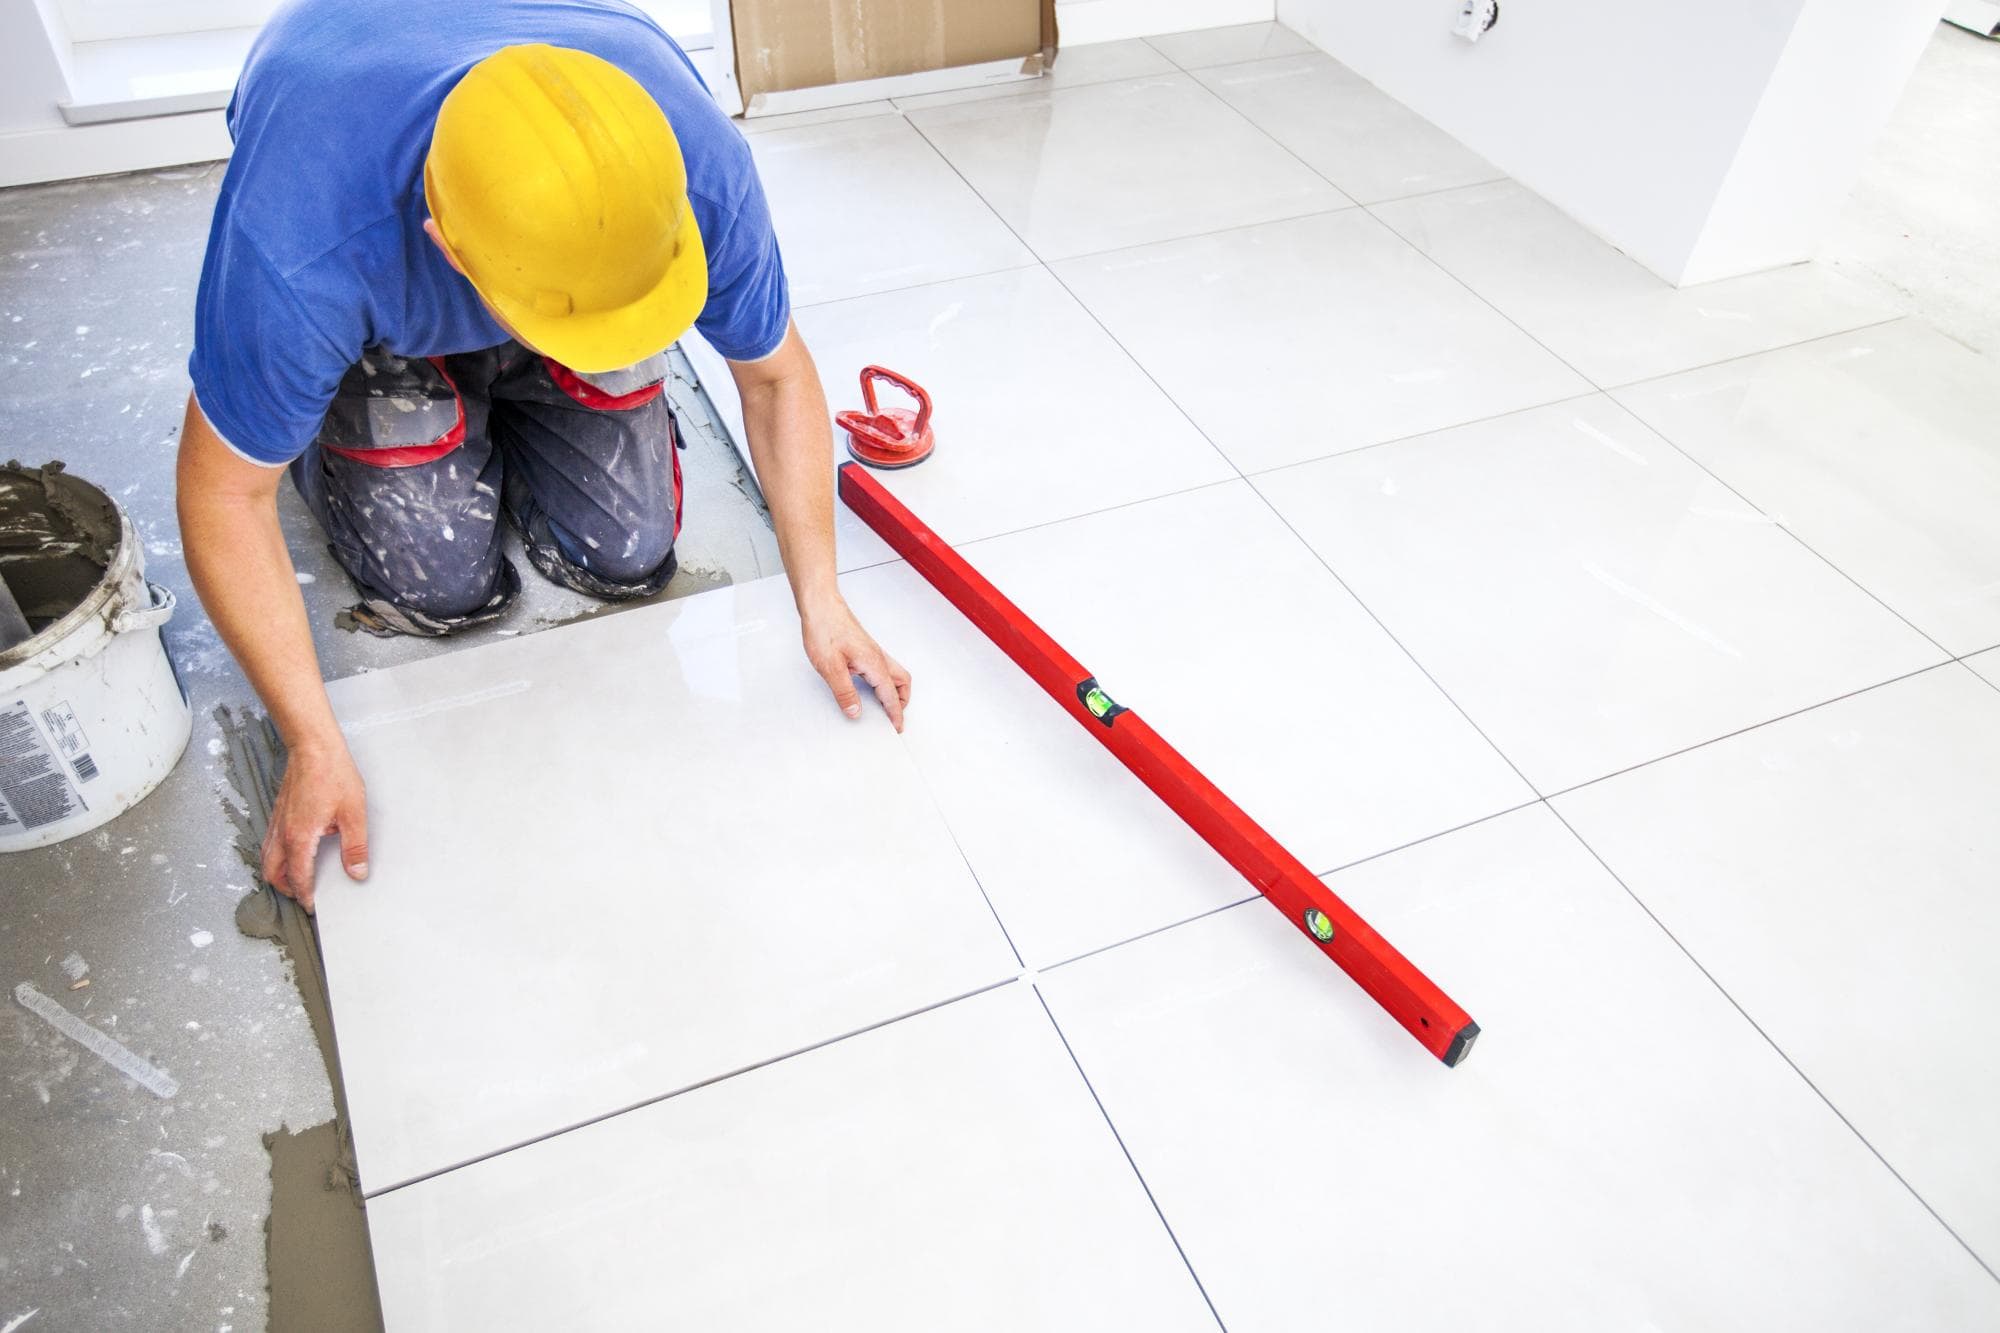
Our technicians don’t just apply sealer and leave. We assess each job individually because different tile materials need different approaches. Ceramic tiles in your kitchen face different challenges than porcelain in your bathroom, and we adjust our methods accordingly.

We use industry-leading sealants from trusted brands like MB Stone Care and Aqua Mix, products designed for longevity rather than quick fixes. When we seal your tiles, you’re getting protection that lasts.

A person kneels on the floor, installing hexagonal tiles next to a section of wooden laminate flooring, carefully aligning the tiles where the two surfaces meet.

Tile Sealing Process Windmill Farm

Simple Process, Lasting Results

First, we thoroughly clean your tile and grout lines. This isn’t just a quick mop—we remove all dirt, grease, soap residue, and any failing old sealants. The surface has to be completely clean for the new sealer to bond properly.

Next, we let everything dry completely. Applying sealer to damp surfaces is one of the biggest mistakes DIYers make, and it leads to poor adhesion and early failure.

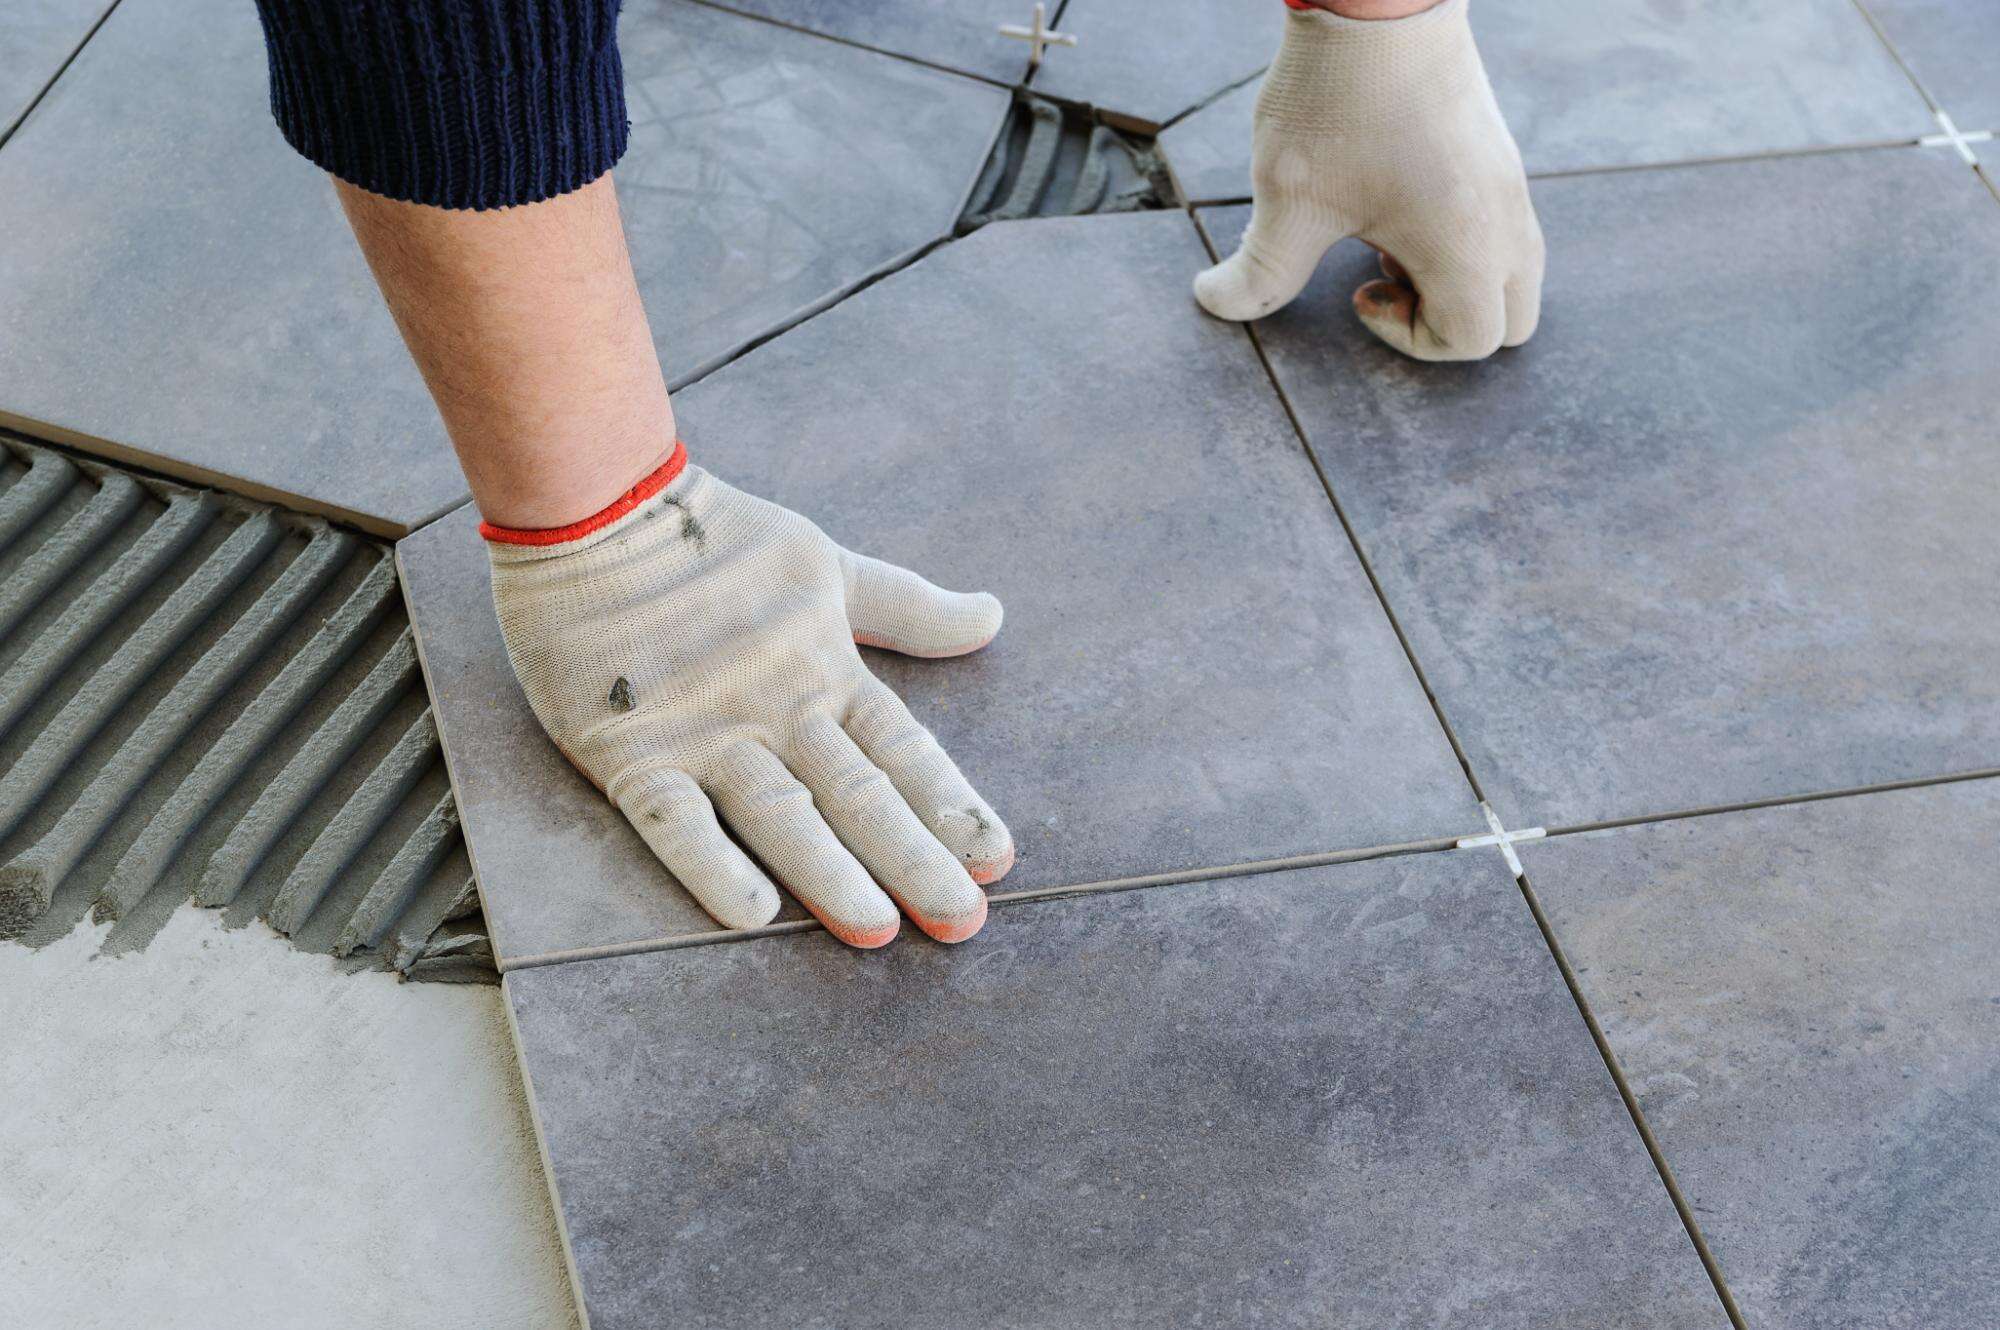
Then comes the sealing itself. We apply the chosen sealant evenly across your tiles and grout lines, making sure every porous area gets covered. We work in manageable sections to ensure consistent coverage and immediately wipe away any excess from the tile surfaces to prevent hazy residue.

The final step is curing time. Depending on the sealer type, you’ll need to stay off the surface for several hours while it bonds and hardens into that protective barrier.

A person wearing white gloves is laying large gray ceramic tiles on a floor, aligning them carefully over adhesive. Tile spacers are visible between the tiles for even spacing.

Ready to get started?

Explore More Services

About Diamond Stone Restorations Corp

Get a Free Consultation

Ceramic Porcelain Tile Sealing Windmill Farm

Complete Protection For Every Tile Type

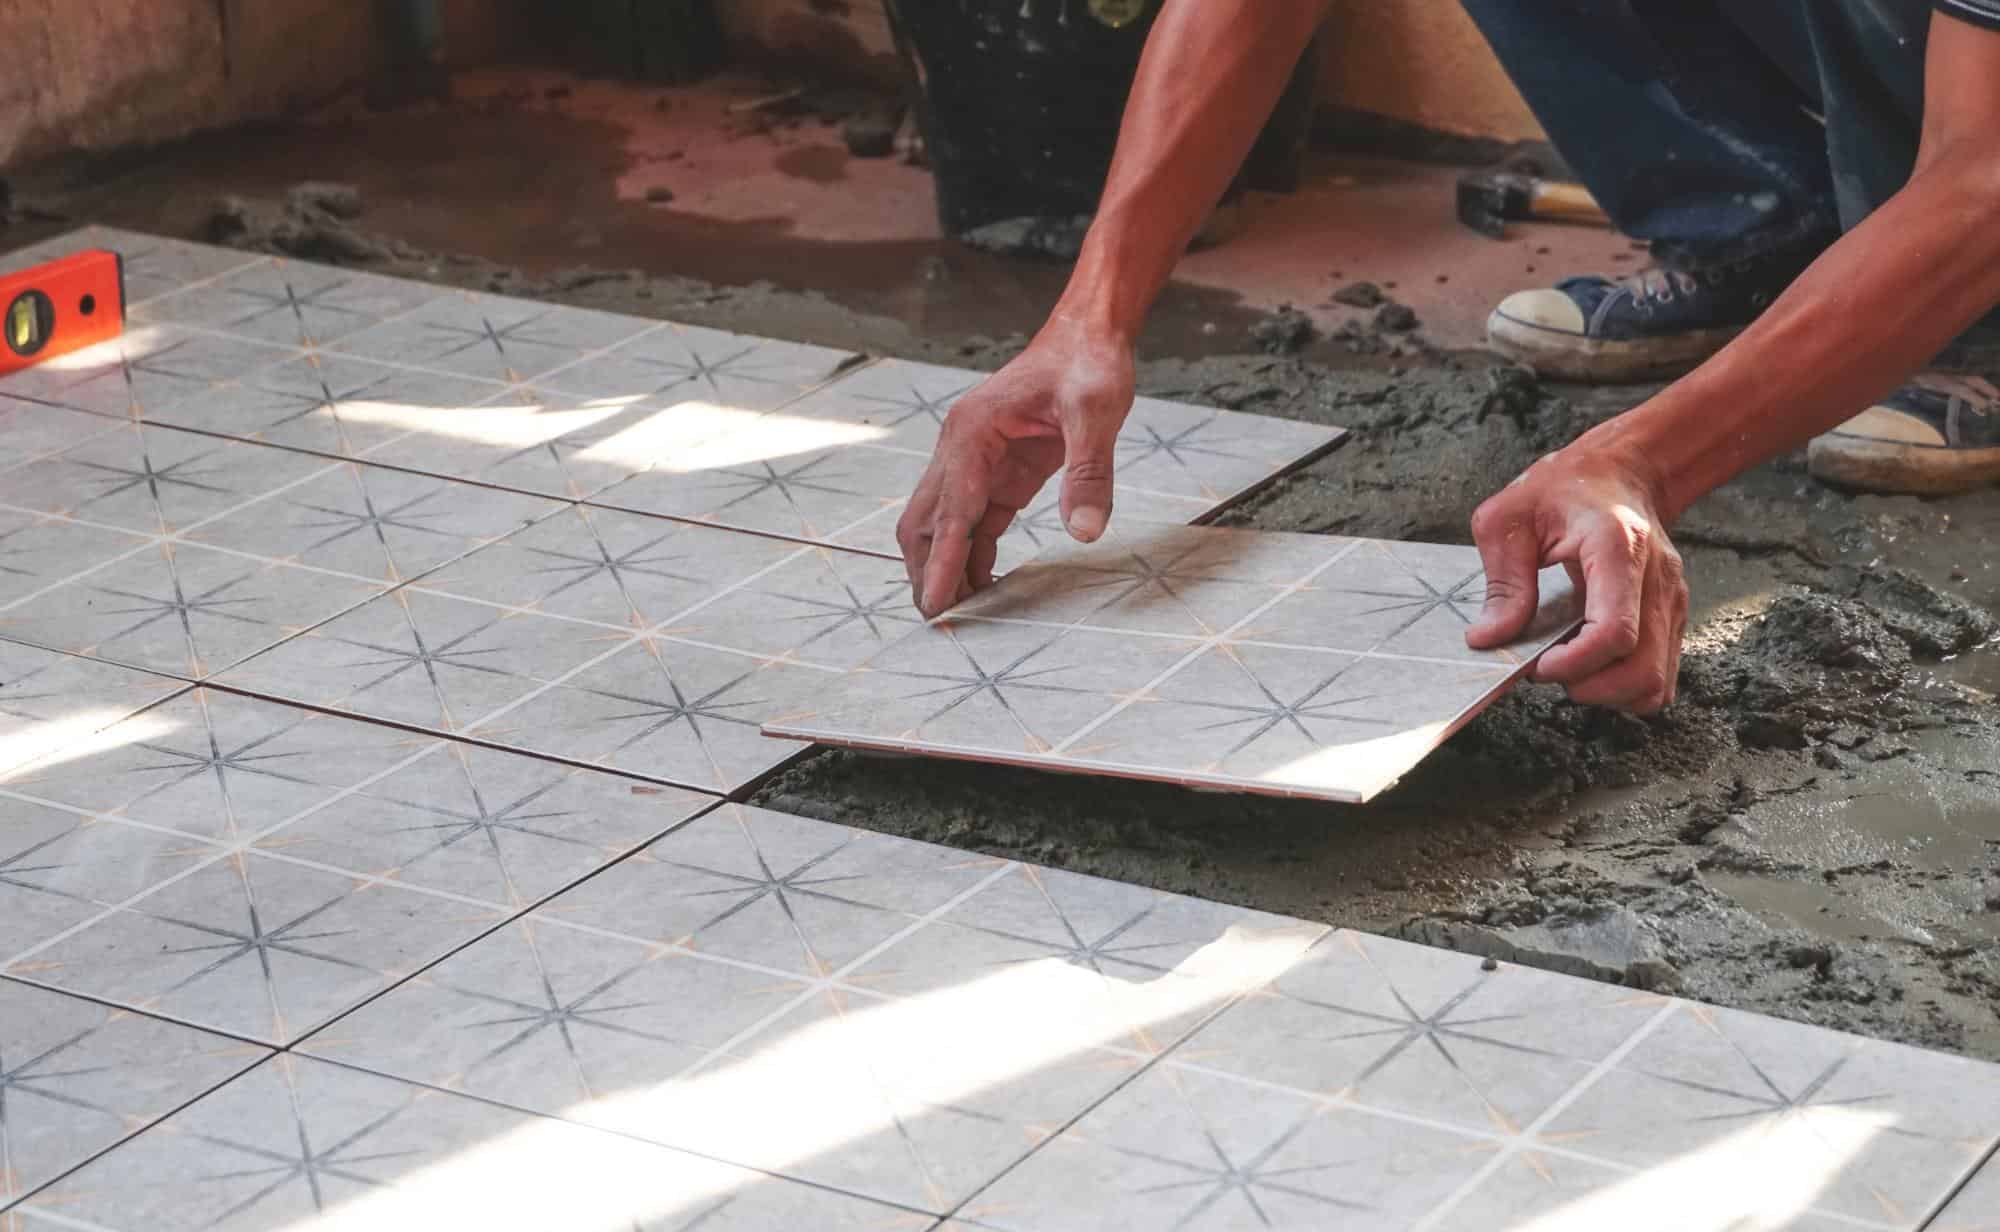
We seal all types of tiles—ceramic, porcelain, natural stone, and specialty materials. Each gets the specific treatment it needs. Ceramic tiles, with their slightly more porous nature, benefit from penetrating sealers that soak deep into the material. Porcelain tiles often need different approaches depending on whether they’re glazed or unglazed.

In Windmill Farm’s climate, moisture protection is especially important. The humidity changes throughout the year can cause unsealed grout to expand and contract, leading to cracks and discoloration. Our sealers create a barrier that prevents moisture infiltration while still allowing the material to breathe.

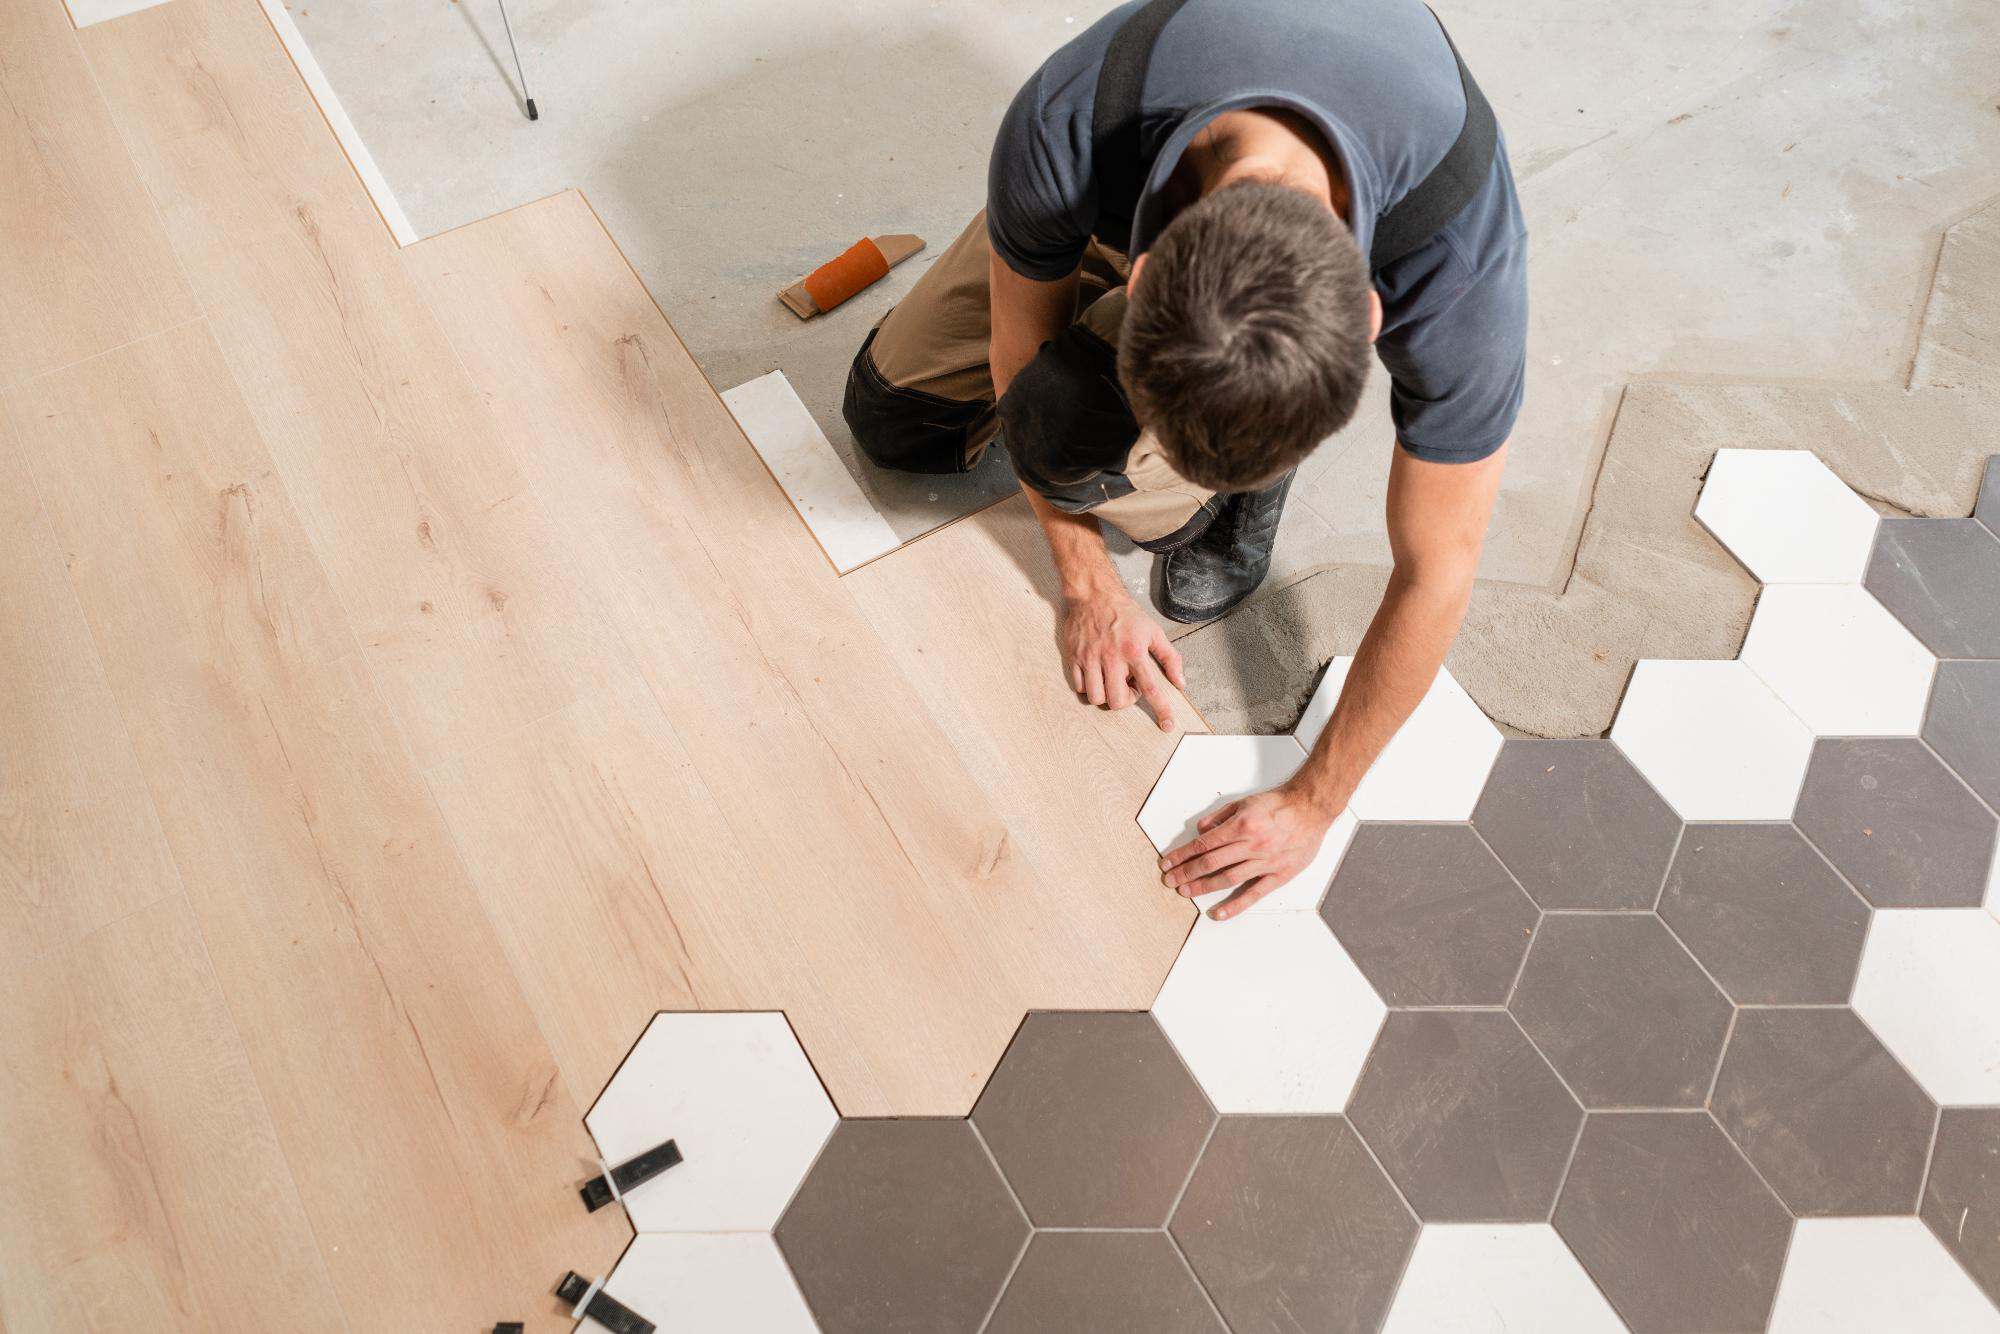
For high-traffic areas like entryways and kitchens, we recommend more durable sealant formulations that can handle the daily wear. Bathroom applications get special attention for mold and mildew resistance. Commercial spaces receive heavy-duty protection designed for constant foot traffic and frequent cleaning.

We also provide detailed maintenance guidance so you know exactly how to care for your newly sealed surfaces. Simple steps that keep your investment protected for years.

A person uses a pencil and tape measure to mark a ceramic tile for cutting, surrounded by tiles on the floor, with a tile cutter nearby.

How long does tile sealing last before needing reapplication?

Most residential tile sealing lasts 1-3 years depending on traffic and maintenance. High-traffic commercial areas may need resealing more frequently, sometimes annually. The lifespan depends on several factors: the quality of sealer used, how well the surface was prepared, the amount of foot traffic, and your cleaning routine. Areas like entryways and kitchens typically need attention sooner than guest bathrooms or bedrooms. You’ll know it’s time for resealing when you notice water no longer beads on the grout lines, stains start penetrating more easily, or colors begin looking dull despite regular cleaning. We recommend having your sealed surfaces evaluated every 12-18 months to catch any issues early.
We can seal previously stained tiles, but the stains need to be addressed first. Sealing over existing stains will lock them in permanently, making them impossible to remove later. Our process starts with deep cleaning to remove as much staining as possible. For stubborn discoloration, we may recommend grout cleaning treatments or even grout color sealing, which can restore uniform appearance while providing protection. Once the surface is properly cleaned and any necessary repairs are made, we apply the appropriate sealer. This prevents new stains from forming while preserving the cleaned appearance. The key is proper preparation—rushing this step leads to poor results that require expensive correction later.
Penetrating sealers soak into the pores of your grout and tile, creating protection from within. They don’t change the appearance of your surfaces and allow them to breathe naturally. These work best for most residential applications. Topical sealers form a protective film on the surface. They can add a slight sheen and provide excellent stain resistance, but they may require more frequent reapplication in high-traffic areas. They’re often used when you want to enhance the appearance while protecting. The choice depends on your specific situation. Bathroom tiles exposed to constant moisture typically benefit from penetrating sealers. Kitchen backsplashes might use topical sealers for easier cleaning. We evaluate your tiles, traffic patterns, and maintenance preferences to recommend the best option for your needs.
Professional sealing typically lasts 3-5 times longer than DIY applications because of proper surface preparation and commercial-grade materials. Most hardware store sealers are designed for quick application but don’t provide lasting protection. The biggest DIY mistakes we see are inadequate cleaning, applying sealer to damp surfaces, and using the wrong product for the tile type. These errors often require complete stripping and resealing, which costs more than hiring professionals initially. Professional application also comes with knowledge about which sealers work best for your specific tiles and usage patterns. We have access to commercial-grade products not available to consumers, and our experience prevents costly mistakes. When you factor in the time, materials, and potential for errors, professional sealing usually provides better value.
New tile installations should be sealed as soon as the grout has fully cured, typically 2-3 days after installation. This timing gives you the best protection before any staining or damage can occur. Waiting too long allows dirt, spills, and moisture to penetrate the porous grout and unglazed tile surfaces. Once staining begins, it becomes progressively harder to achieve optimal sealing results. Early sealing also helps maintain that “new” appearance longer. However, the grout must be completely dry before sealing. Trapped moisture under the sealer can cause bonding problems and lead to early failure. We test moisture levels to ensure proper conditions before beginning the sealing process. This attention to timing and preparation is why professional sealing provides superior, long-lasting results.
Most penetrating sealers are designed to be invisible and won’t change your tiles’ appearance. They protect from within while maintaining the original look and texture of your surfaces. Some sealers can enhance colors slightly, making them appear more vibrant, similar to how stone looks when wet. If you prefer the exact original appearance, we can show you samples of different sealer options before application. Topical sealers may add a subtle sheen, which some people prefer for the enhanced appearance and easier cleaning. Color sealers can actually improve the look of discolored grout by providing uniform color while sealing. We discuss all options during our assessment so you know exactly what to expect from your chosen sealing approach.