Tile Sealing in Larchmont, NY

Keep Your Tiles Protected for Years

Professional tile sealing that stops stains, moisture damage, and costly repairs before they start.

A person wearing a yellow hard hat and blue shirt is installing large white floor tiles. A red spirit level and a bucket of adhesive are nearby, and the person is adjusting a tile for alignment.

Hear from Our Customers

A person carefully placing a ceramic floor tile onto wet mortar, aligning it with other tiles during a flooring installation project. Sunlight shines across the workspace.

Professional Tile Sealing Services Larchmont

Your Tiles Stay Beautiful Longer

You walk into your bathroom or kitchen and your tiles still look like the day they were installed. No stained grout lines. No water spots. No scrubbing for hours trying to get them clean.

That’s what proper tile sealing does. It creates an invisible barrier that keeps spills, dirt, and moisture from soaking into your tile and grout. Your morning coffee spill wipes up in seconds instead of leaving a permanent stain.

In Larchmont’s historic homes, where tile installations represent significant investments, sealing isn’t optional—it’s protection for surfaces that need to last decades, not years.

Tile Sealing Contractors Larchmont NY

We Know Larchmont's Unique Tile Needs

We’ve been serving Larchmont homeowners for over a decade. We understand the challenges that come with maintaining tile in homes built before 1939—the settling, the moisture issues, the need for solutions that work with older construction.

Your neighbors trust us because we show up when we say we will, explain exactly what we’re doing, and stand behind our work. No hidden fees, no surprises, just straightforward service that protects your investment.

We’ve sealed tiles in Tudor homes on Elm Avenue, contemporary renovations near the waterfront, and everything in between. Each project gets the same attention to detail that’s earned us a 4.9-star rating from local homeowners.

A person kneels on the floor, installing hexagonal tiles next to a section of wooden laminate flooring, carefully aligning the tiles where the two surfaces meet.

Tile and Grout Sealing Process

Here's Exactly What We Do

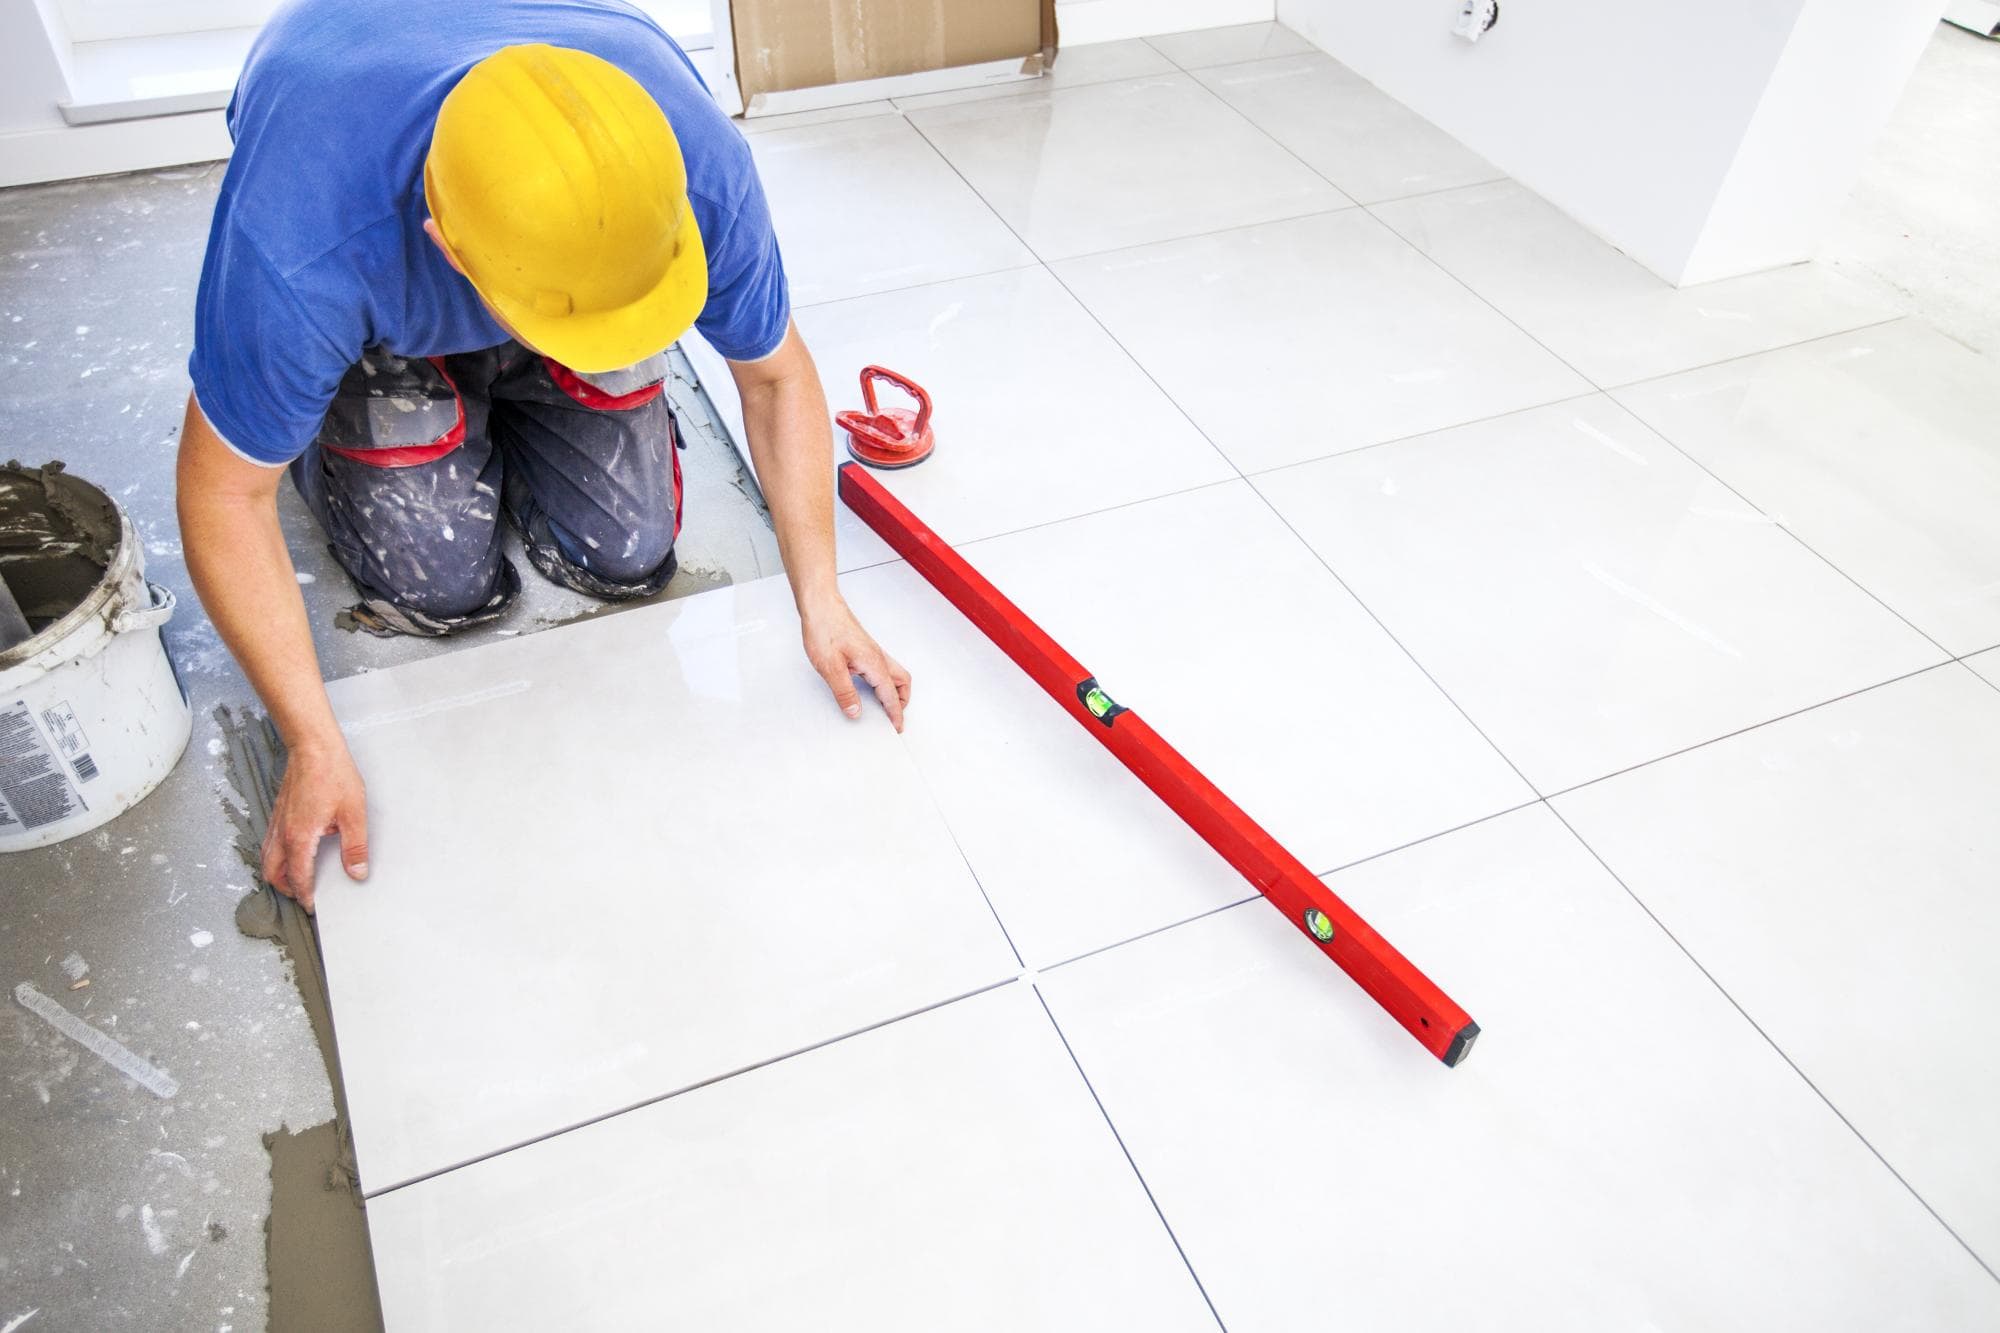
First, we thoroughly clean your tile and grout to remove any existing dirt, soap residue, or stains. Clean surfaces are essential—sealer won’t adhere properly over grime.

Next, we apply a penetrating sealer that soaks into the pores of your grout and any unsealed tile. This creates a protective barrier from the inside out, not just a coating on top that can wear off.

We let everything cure completely—usually 24 hours—before you can use the area normally. During this time, the sealer bonds with your tile and grout to create long-lasting protection.

The result is tile that resists stains, repels moisture, and stays cleaner with regular maintenance. Most sealers we use last 3-5 years on indoor surfaces before needing reapplication.

A person wearing white gloves is laying large gray ceramic tiles on a floor, aligning them carefully over adhesive. Tile spacers are visible between the tiles for even spacing.

Ready to get started?

Explore More Services

About Diamond Stone Restorations Corp

Get a Free Consultation

Ceramic Porcelain Tile Sealing Larchmont

What's Included in Our Service

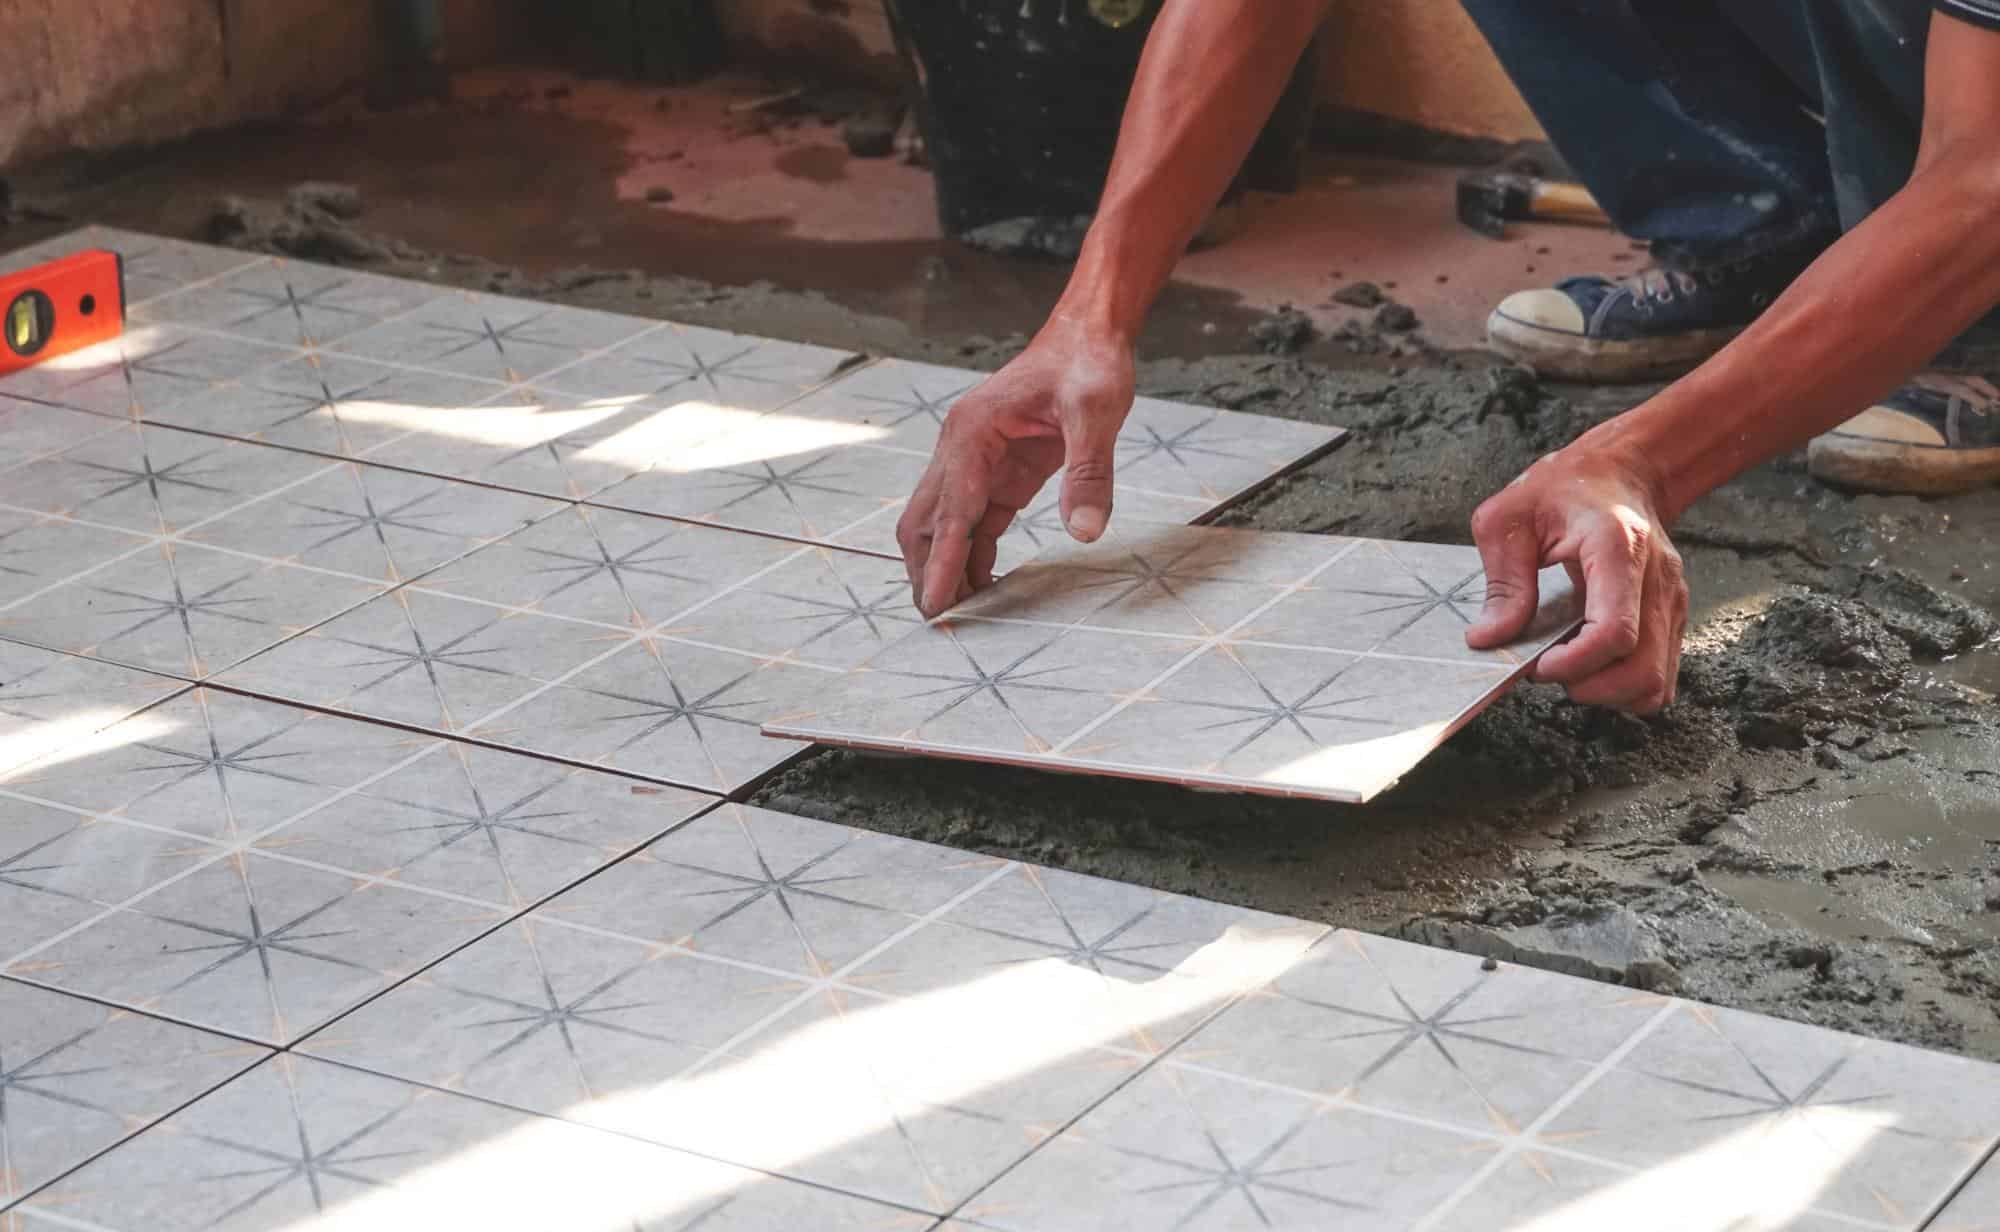
We seal all types of tile—ceramic, porcelain, natural stone, and everything in between. Each material gets the right type of sealer for maximum protection.

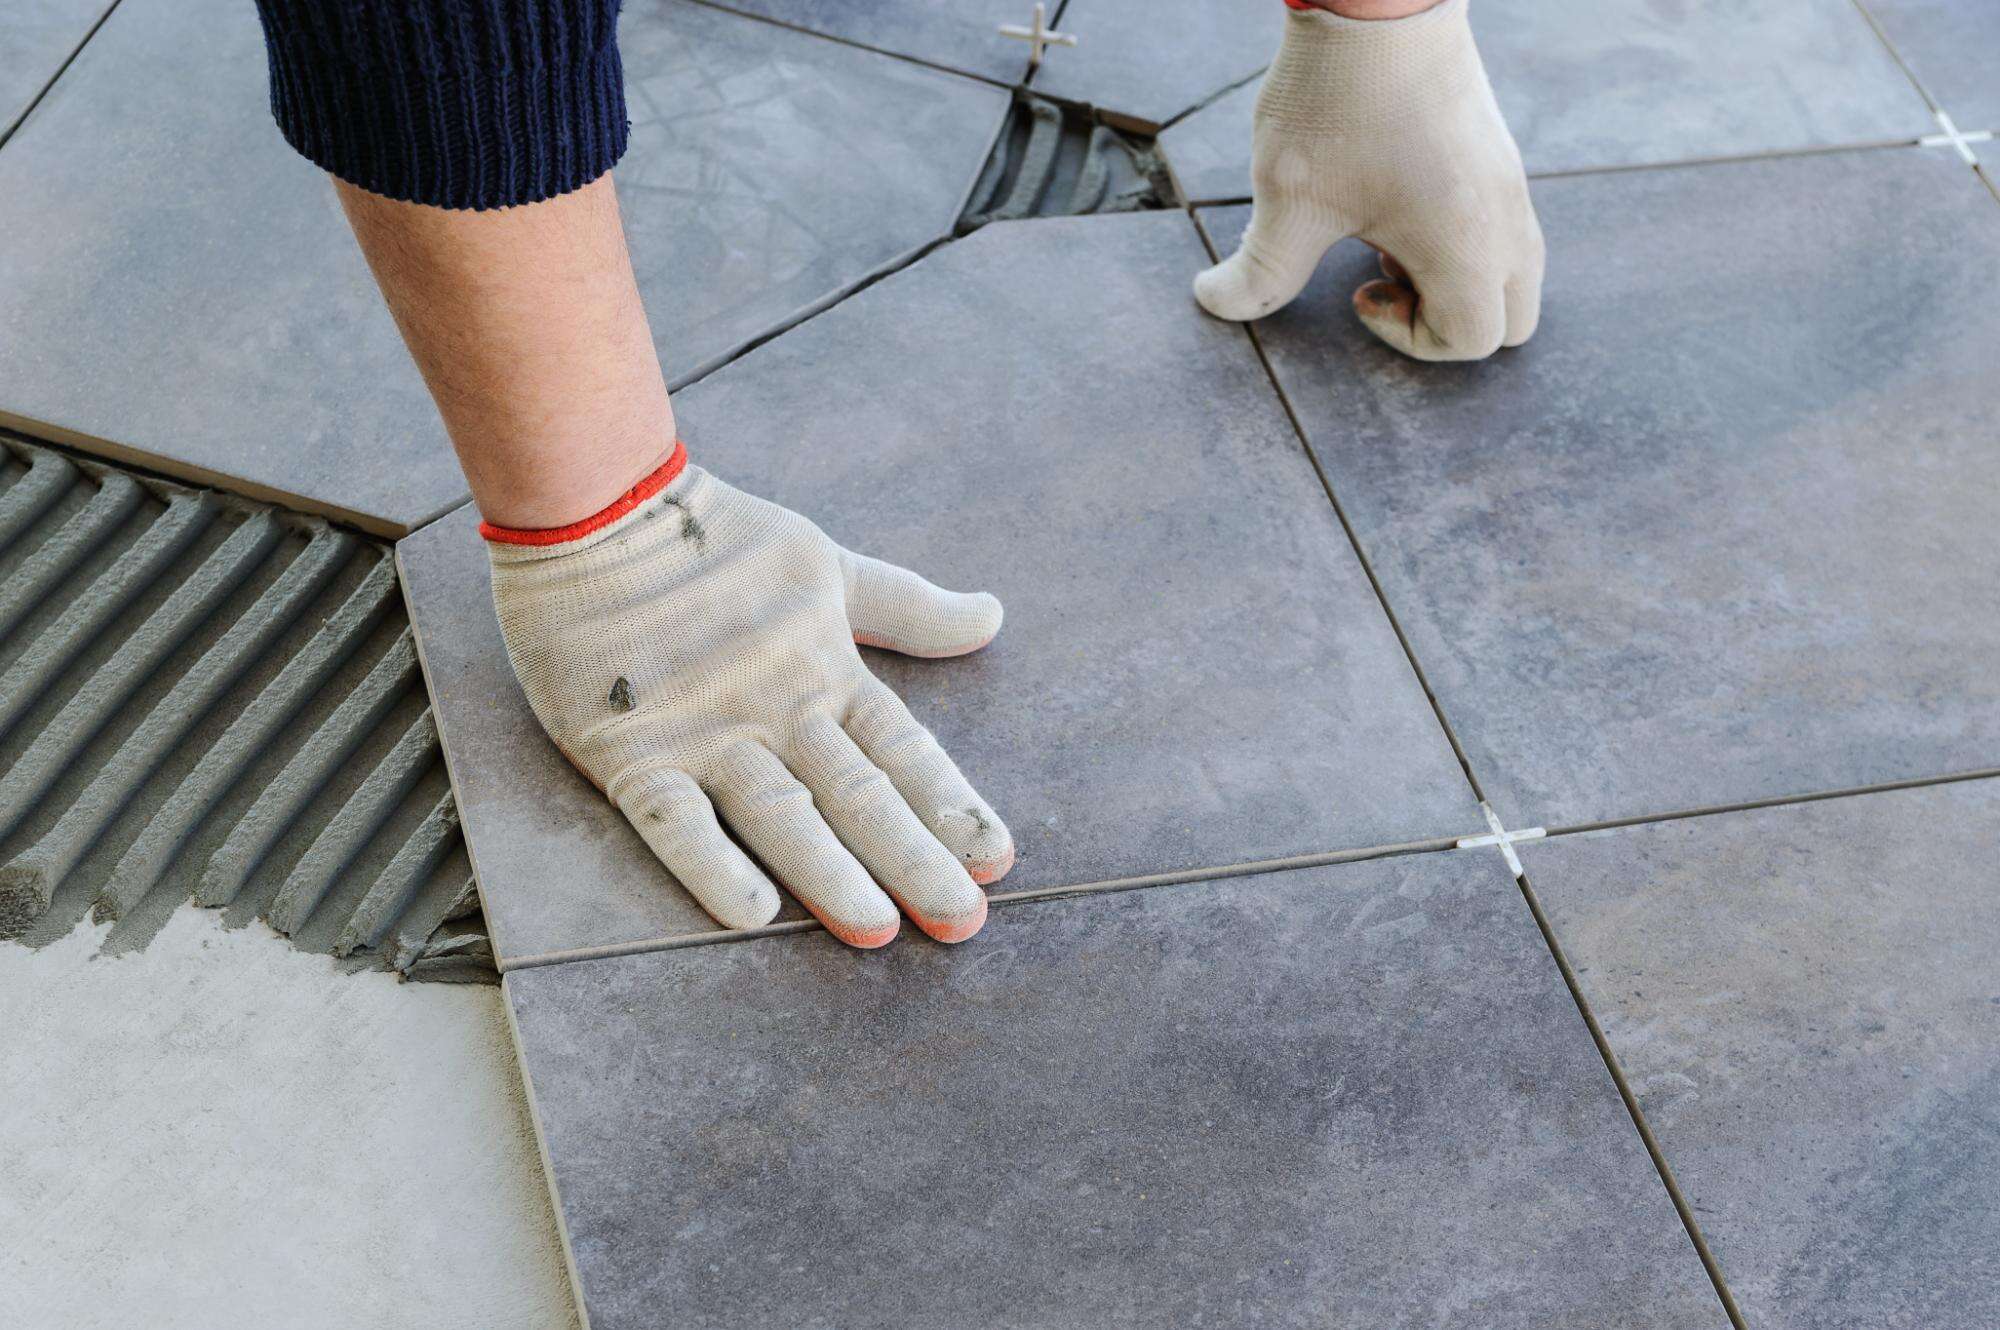
Your grout lines get special attention since they’re the most vulnerable to staining and moisture damage. We use commercial-grade sealers that prevent water absorption and make future cleaning much easier.

In Larchmont’s coastal environment, moisture protection is critical. Homes near the Sound deal with higher humidity levels that can lead to mold and mildew issues in unsealed grout. Our sealing process creates a barrier against these problems.

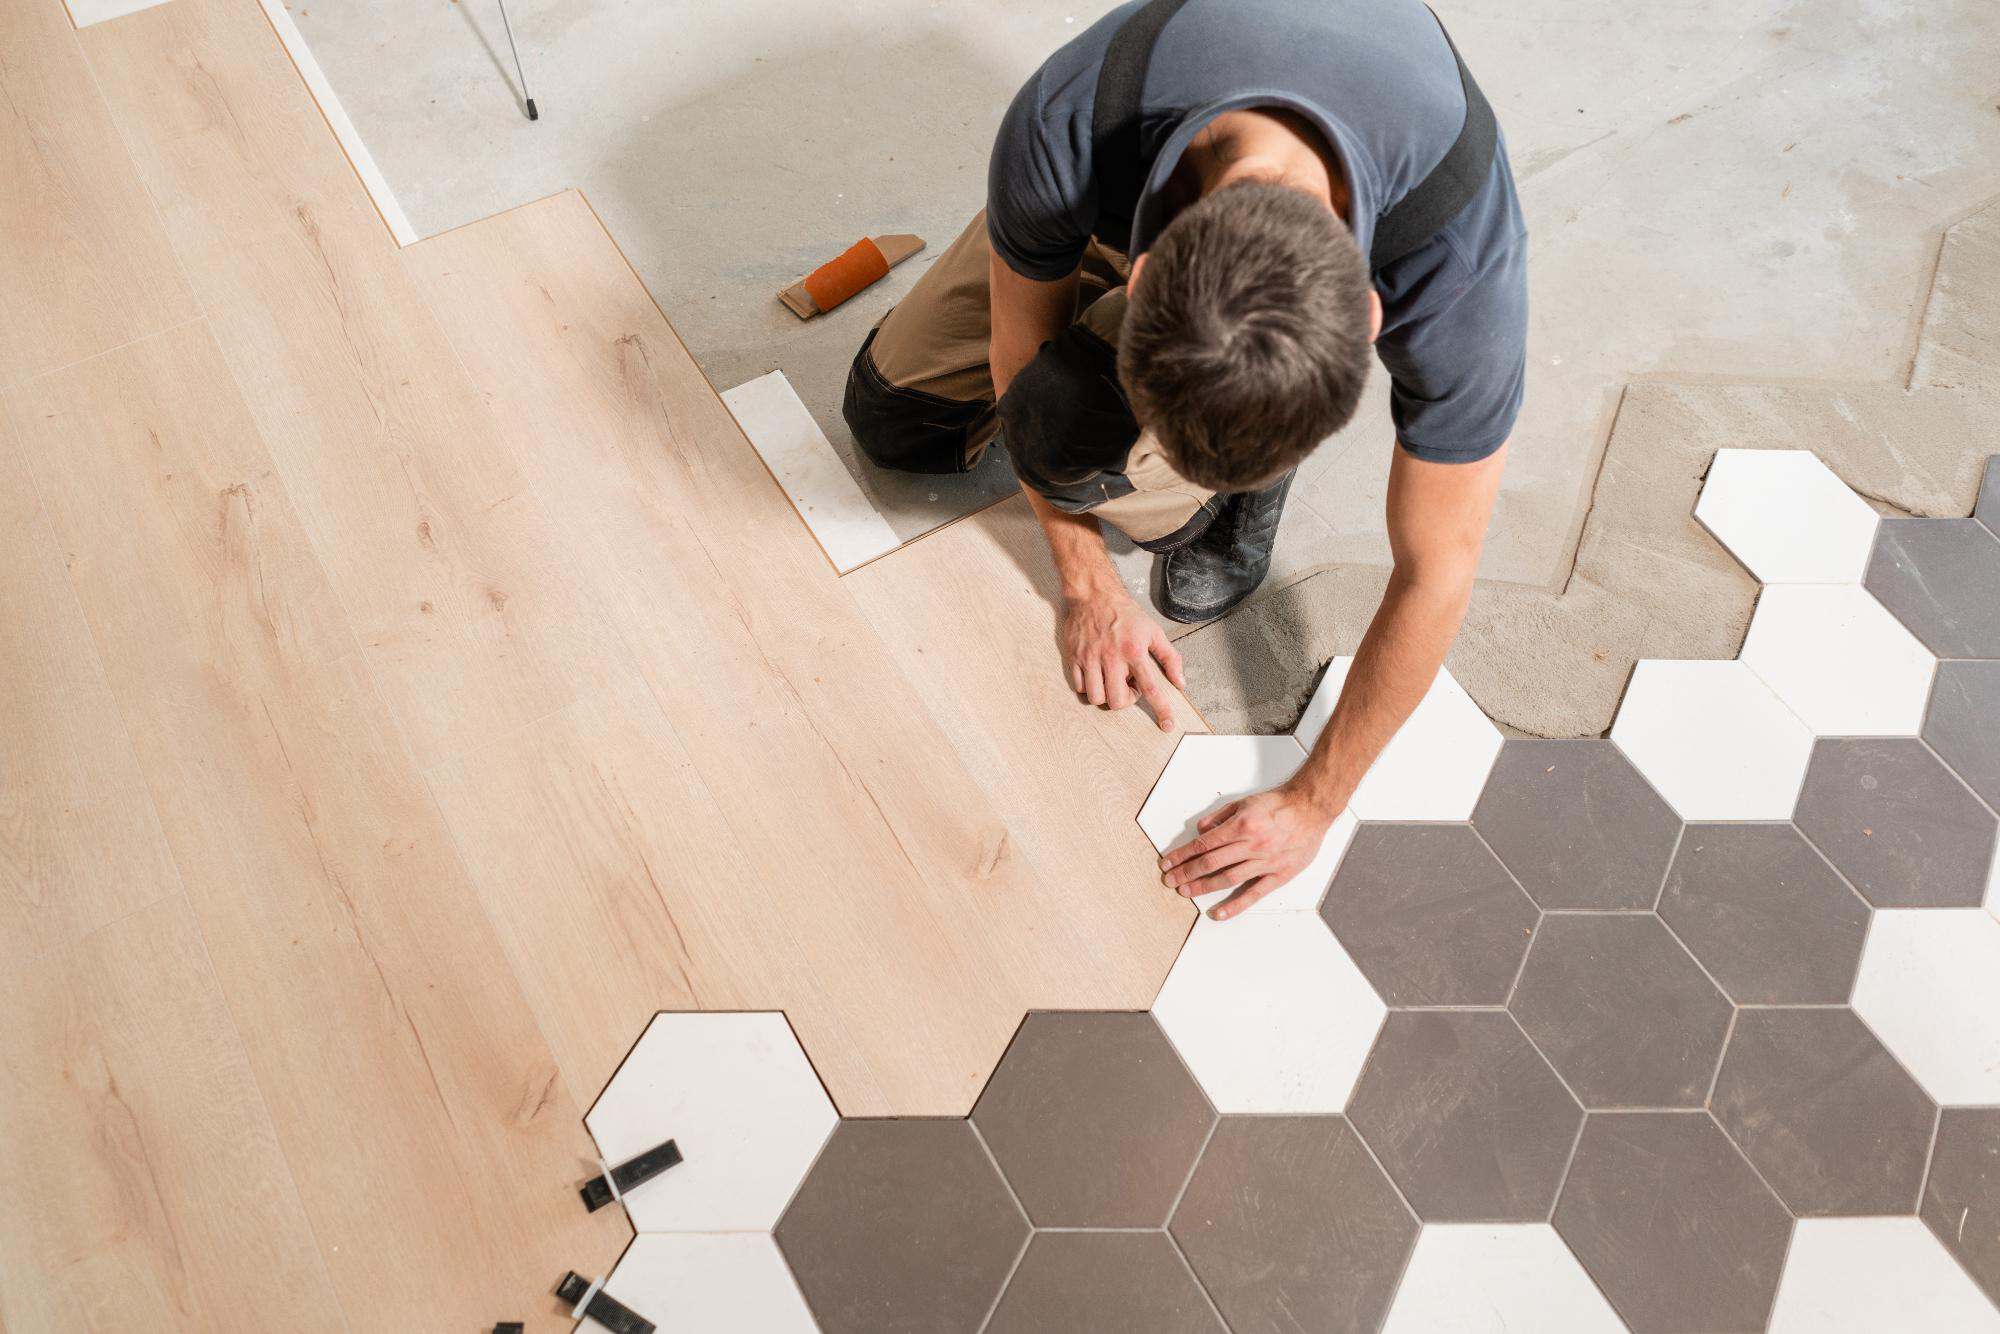
We also handle tile in high-traffic areas like entryways and kitchens, where foot traffic and spills are constant challenges. The right sealer keeps these surfaces looking good despite daily wear.

A person uses a pencil and tape measure to mark a ceramic tile for cutting, surrounded by tiles on the floor, with a tile cutter nearby.

How long does tile sealing last in Larchmont homes?

Most high-quality tile sealers last 3-5 years on indoor surfaces before needing reapplication. The exact timeframe depends on several factors specific to your situation. High-traffic areas like kitchen floors or main bathroom tiles may need resealing sooner than a guest bathroom that sees occasional use. The type of tile also matters—natural stone typically needs more frequent sealing than ceramic or porcelain. We recommend testing your sealed surfaces annually by putting a few drops of water on the grout. If the water beads up and rolls around, your sealer is still working. If it soaks in, it’s time for reapplication.
Not all tile needs sealing, but all grout does. Most ceramic and porcelain tiles are glazed and don’t require sealing, though unglazed or polished versions might benefit from protection. Natural stone tiles—marble, travertine, slate, granite—should always be sealed because they’re naturally porous and vulnerable to stains and moisture damage. Even if your stone came “pre-sealed,” it should be sealed again after installation and grouting. The grout between any tiles needs sealing regardless of the tile type. Grout is cement-based and naturally porous, so it absorbs spills, dirt, and moisture readily. Sealing makes it stain-resistant and much easier to keep clean.
Unsealed grout becomes a magnet for stains, dirt, and bacteria. What starts as light-colored grout gradually darkens as it absorbs everything that touches it—coffee spills, soap residue, everyday dirt tracked in from outside. Moisture absorption leads to bigger problems. Water seeping into unsealed grout can cause it to crack or crumble over time. In humid environments like bathrooms, this moisture creates perfect conditions for mold and mildew growth. You’ll spend significantly more time and effort trying to keep unsealed surfaces clean. What should be a quick wipe-down becomes scrubbing sessions with harsh cleaners that may damage the grout further. Eventually, you may need to regrout or replace tiles entirely—a much more expensive fix than preventive sealing.
The water test is the simplest way to check. Put a few drops of water on your grout lines and watch what happens. If the water beads up and sits on the surface, your sealer is still working. If it soaks in and disappears, it’s time to reseal. You might also notice that your grout is harder to clean than it used to be, or that stains seem to set in more easily. Grout that looks darker or more discolored than when it was new is usually absorbing contaminants because the sealer has worn off. In high-moisture areas like showers, look for signs of mold or mildew in grout lines. While this can happen even with sealed grout, it’s much more common when the sealer has failed and moisture is penetrating the surface.
We can often restore stained grout before sealing, but it depends on how deep the stains have penetrated. Surface stains from everyday use usually come out with professional cleaning techniques and commercial-grade products. Deep-set stains that have soaked into unsealed grout over years may be permanent. In these cases, we might recommend grout recoloring—applying a colored sealer that gives you a fresh, uniform appearance while providing protection. The key is addressing the problem before stains become embedded. Once we’ve cleaned the grout as much as possible, sealing prevents future staining and makes maintenance much easier going forward.
You should avoid walking on freshly sealed tiles for at least 30 minutes, but full curing takes 24 hours. During this time, the sealer bonds with your tile and grout to create lasting protection. Keep the area completely dry during the curing period. Any water or spills can interfere with the sealing process and reduce effectiveness. We recommend staying out of sealed bathrooms overnight and avoiding mopping sealed floors for at least a day. Once fully cured, your sealed tiles are ready for normal use. You’ll notice that spills bead up instead of soaking in, and regular cleaning becomes much easier and more effective.